blog — THE PLACE HOME

contact us

Whether you are a homeowner, an industry professional, fellow blogger or just curious to know more about the place home, we are excited to hear from you. 

Email us directly at theplacehome@gmail.com, connect with us through social media or submit the form!


123 Street Avenue, City Town, 99999

(123) 555-6789

email@address.com


You can set your address, phone number, email and site description in the settings tab.
Link to read me page with more information.

THE-PLACE-HOME-blog-banner-final.jpgasdfsdf

blog


Filtering by Tag: our project room

project room reveal!

Emily Oster

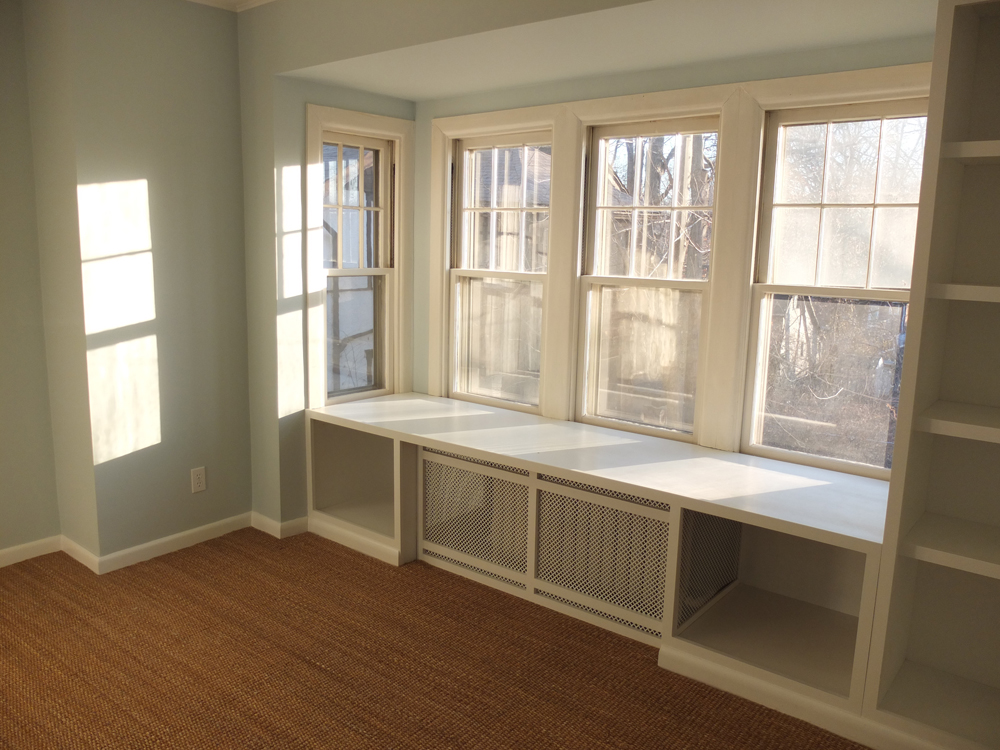
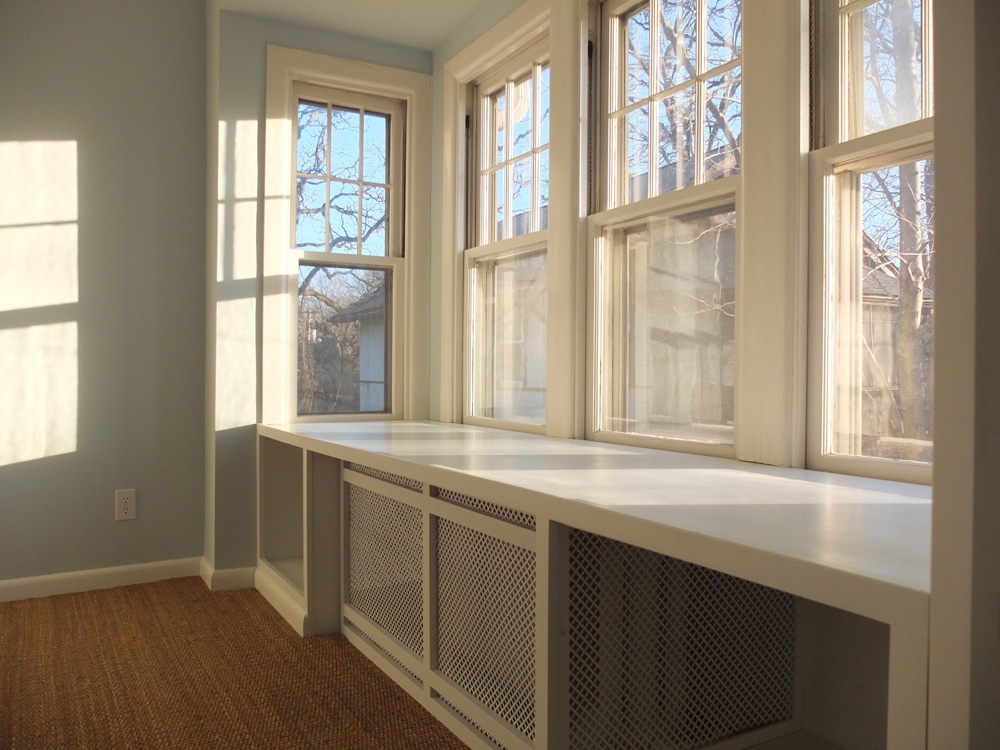
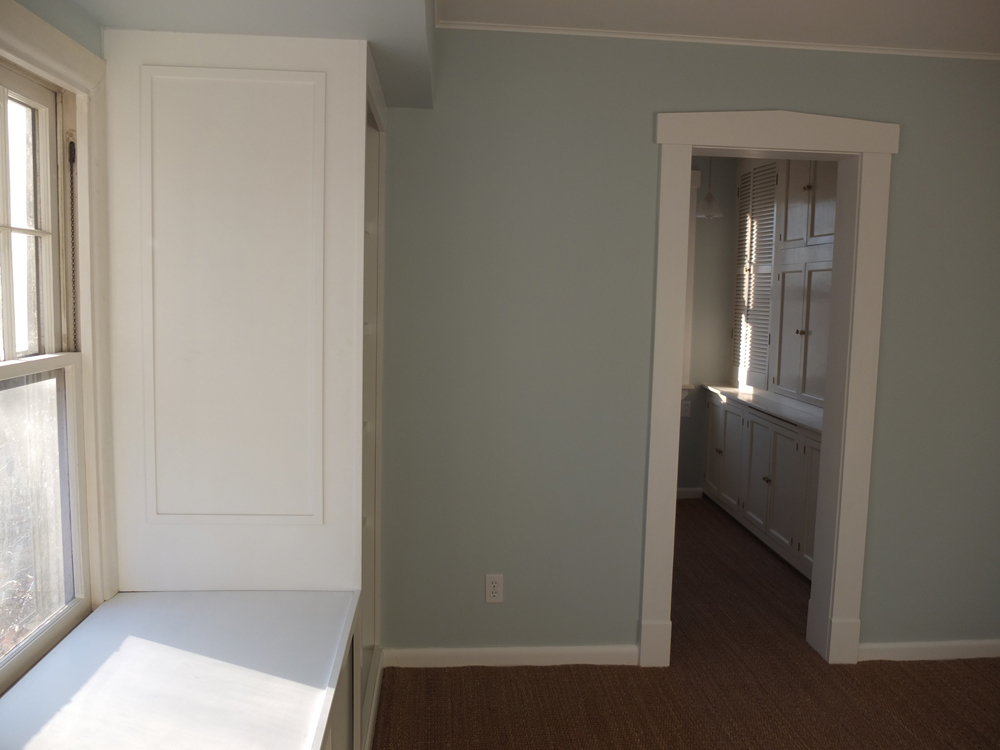
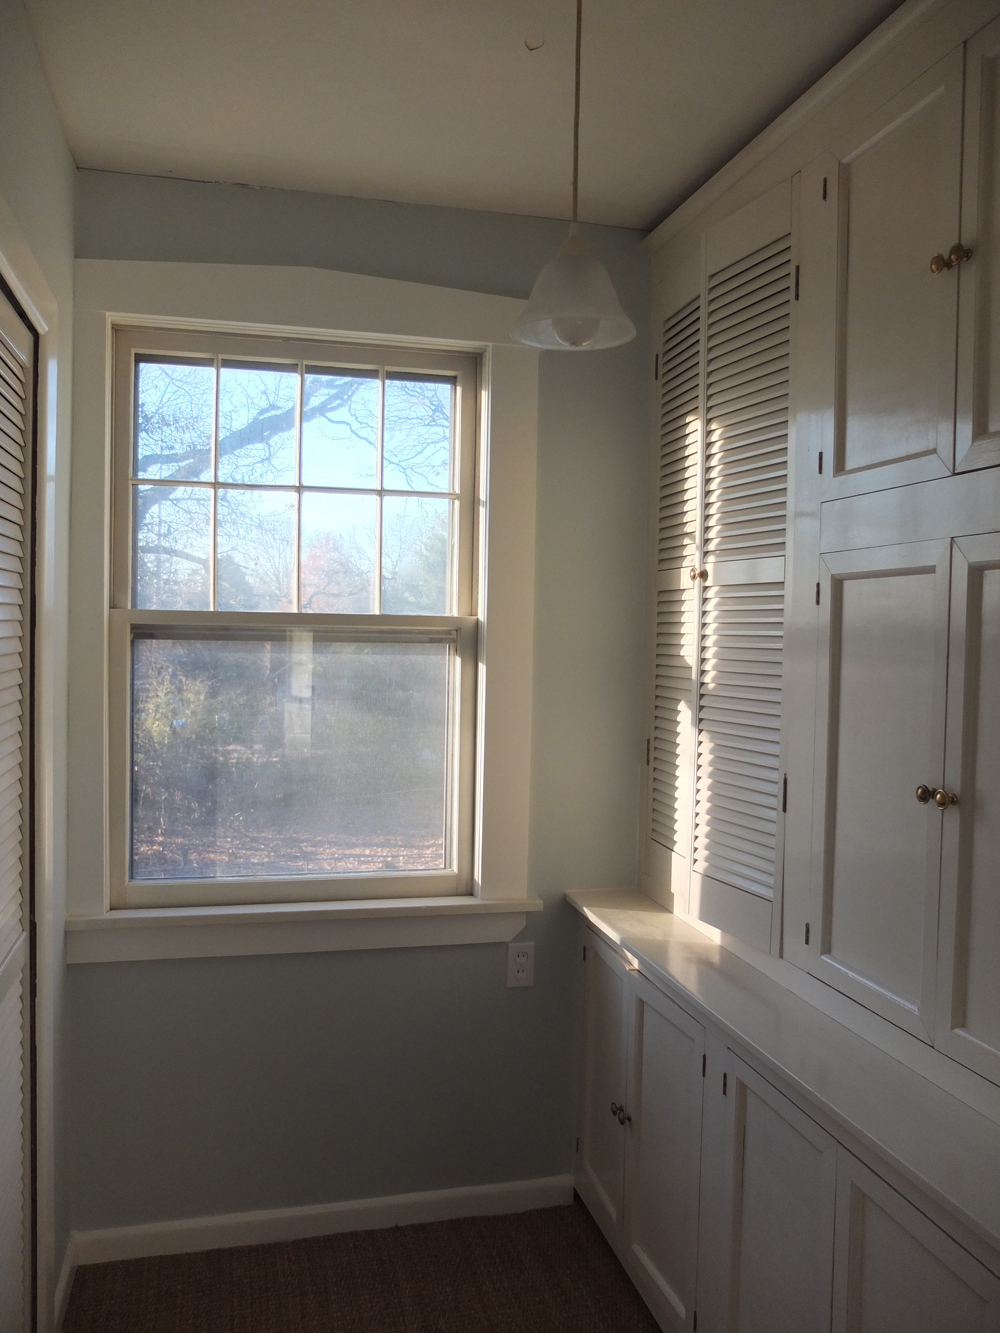
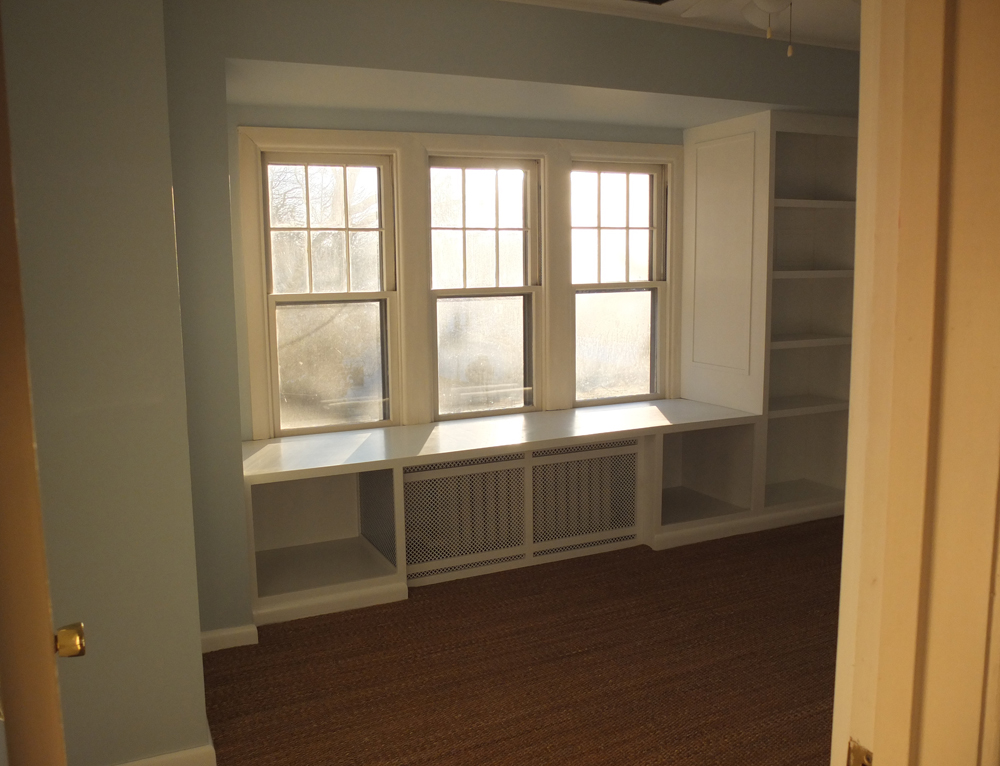
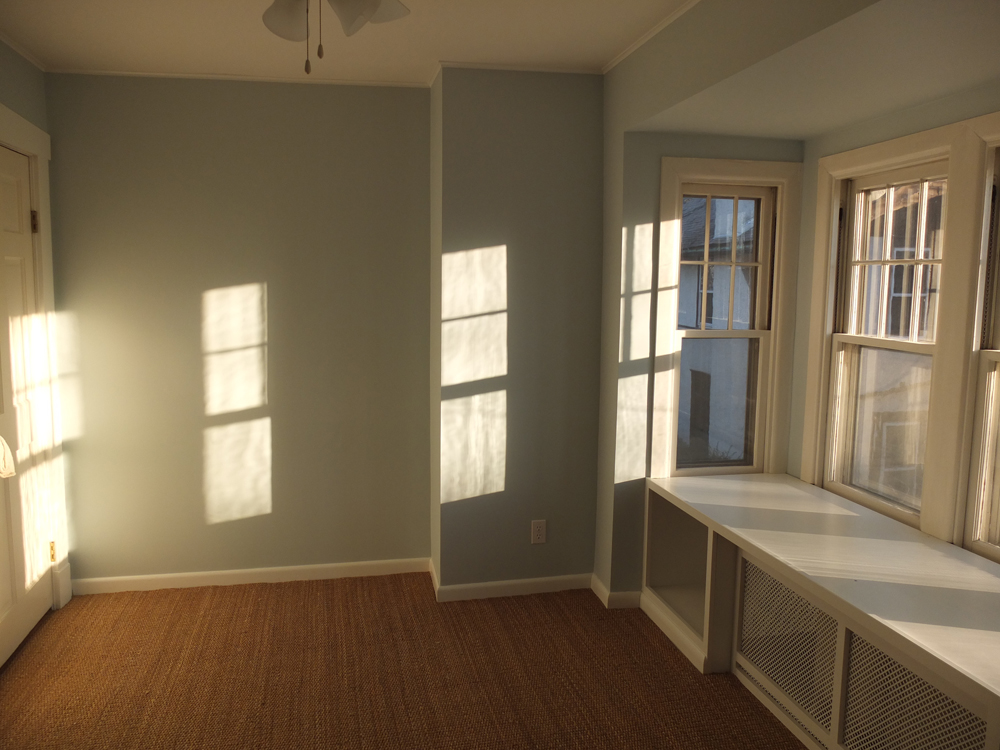
Captured in some amazing morning light, the below pictures show our most recent updates in the project room - built in, fresh paint and new flooring! I am loving all the selections and keep walking into the space in almost a state of disbelief that this room is part of our house. Special thanks to the family, friends and carpenters who helped us along the way!

project room painting schedule

Emily Oster

Borrowed Light paint by Farrow & Ball

Borrowed Light paint by Farrow & Ball

Tomorrow, the built in bookcase and bench seat are being installed in the project room (see this post and this post about planning for the custom piece). It has a been long time in the making and I am super excited to see it. It will be a beautiful finished piece in an unfinished room but I think it will really motivate me to keep working. Our carpenter will also be sanding some areas of rough mudding and filling nail holes so that the room is no excuses ready for painting. This room has been next on my painting list for the past couple months and I have pushed it off since there is so much priming, painting and taping to be done! But after about a month off and with our new built in installed, I am going to start the process this weekend. This is what is on the painting schedule.

  1. Paint ceiling - we didn't need new drywall so one quick coat of Benjamin Moore Simply White ceiling paint should do the trick.
  2. Prime walls - since its brand new drywall I will definitely need to prime before painting. I am hoping it will only take one coat...
  3. Paint trim - we used pre-primed wood for the majority of the new molding so one coat of hybrid Simply White paint should do it.
  4. Paint shoe molding - the mountain grass needs shoe molding installed to hold down the edges which is, obviously, much easier to paint before it goes in. We already have some painted pieces in the garage so I am crossing my fingers that I won't have to do too much of this.
  5. Paint walls - I am about 100% confident that we are going with Farrow & Ball's color Borrowed Light. It is a pretty light blue so one coat should be enough.
  6. Paint built in - I will probably push this project off till the spring as we will need to remove the doors in order to properly paint them and it will be easier to do this outside.

There is no way I will accomplish all of this in one weekend so I am prioritizing the ceiling, shoe molding and priming of the drywall. The mountain grass flooring (see this post) is being installed next Friday so getting the ceiling done will be so much easier without having to being super concerned about the new floor. Also our flooring guys are coming back sometime after the mountain grass goes in so I need to make sure I have the shoe molding ready for them. The drywall priming might be wishful thinking but should be an easier job as I won't need to be very precise.

Painting is the last big step after the built in and flooring go in. The existing built in and closet will also be a pain but I am not going to focus on that just yet. Small steps towards the finish....Also on the master to do list is hanging a bead board ceiling in the closet area (opted not to get new drywall so bead board will be an attractive and easier solution), replace the lighting fixture in the room and closet, paint and reconfigure closet (might do this with the first batch of painting...) and get window treatments. I am sure there is more like maybe getting new windows but again small steps....

finalized design for the built in

Emily Oster

The big house update this week is that our project room built in is under construction and should be installed early next week! The below drawing is basically what it will look like.

After quite a few hours of researching radiator covers and doing some redrawing, I delivered this design to Jeff and our carpenter - Jon. On Wednesday, Jon came over to review the details and iron out the construction of the piece. 

A few design details to point out:
1. I added in storage by making the area to the left and right of the radiator large cubbies.
2. The face framing on the bookcase now continues all the way to the floor creating a visual distinction between the bookcase element and the bench. Jon and I also decided to vary the depths between the two pieces to create further differentiation. The cubbies are roughly 24" deep while the bookcase is 16".
3. We created multiple points of access to the radiator. The interior mesh side panels (mesh to allow for maximum air flow) will be able to pop off. The bench seat will have a removable panel and the front radiator screen will also be able to come off.
4. I decided to recess the radiator panel back so that it didn't look so flat and adhered against the frame. I also added in slots on the top and bottom to create more air flow.

Some changes not indicated on the drawing:
1. An additional vertical face frame will be added to both of the cubbies to create further support for the long bench seat. This makes the width of the cubbies 1.5" smaller.
2. Jon will add a lip to the top of the bench so that a seat cushion will not just slide off.
3. An access panel to a wall outlet hidden behind the false back of the bookcase will be incorporated. This is for code reasons but also will allow us to add a sconce light in the future if we choose to do so.
4. 1" x 1/8" face framing will be applied to the side panel to break up the flat plane of white material.
5. We most like will have to split the radiator panel with a vertical piece as the aluminum mesh appears to only be readily available in 36" wide sheets. As it is drawn, we would need a 50" width. 

Jon and I also discussed other construction details that I won't bore you with here. Working in the industry and on numerous projects with Jon, I have come to have a huge respect for finish carpenters. The planning that goes into a relatively simple piece even like this is rather extensive. And while I concern myself mainly just with the design, Jon has to be able to conceptualize both the design and execution - dealing in 1/16" increments, knowing lumber dimensions, non square corners, joinery details etc. I think the piece is going to come out great and I am super excited to see the finished product. Stay tuned!

Have a great weekend everyone!